Monday, January 31, 2011

Mojo Monday #5 and Challenge!

Happy Monday!  Sorry for the late post, but better late than never.  Well, today is the last day of January and we are going to be wrapping up things for this month of Organization.  Is everybody organized and ready for a great year of craftiness?

Each month we will be dedicating our blog posts with a theme of sorts.  Starting tomorrow, our theme is Love is in the Air.  Now, I know some of you may not have a significant other or may be single, so we are definately going to vary our posts and challenge you to think beyond the box.

Since it is Mojo Monday, this week I want to kick things off with a challenge.  This week, scrapbook the things you love.  I'm not talking about your husband or kids or pets for that matter.  Challenge yourself...what makes you tick?  What makes you, UNIQUELY you?  Top 10 list of things you love. Here's one for me:

Focus the page(s) on your interests or LOVES.  We want to see too, so add your project to our link widget below.  Winner will recieve a fun little goodie in the mail (winner announced on Friday)

Friday, January 28, 2011

Inspiration Friday!

Happy Friday!  Hopefully, you have some exciting crafty plans this weekend.  I am actually hosting a crop tonight so I will definately be getting my fix of craftiness.  If you are ever in the Des Moines Area, come visit us for a crop. Be sure to check the website for upcoming crop dates.

Organizing my craft room all month has inspired me to make some cards from some leftover collections and scraps that I have.  Here is what I have to share and hope it inpires you too.


Have a great weekend!

{{Hugs}} Mimi

Thursday, January 27, 2011

Packing Your Bags

Hi all! Michelle Houghton here or some of you might know me as Scrapweaver. I am the artist and teacher for Club Copic. Mimi asked me to share a little info on organization with you for this months organizational theme. My scrap space usually is not very organized BUT when I go to a crop I have a system that works great for me. Let me put it this way when I go to an all day crop I can crank out 25 plus pages and it is because I am organized and ready to get to work. i am a teacher at heart so I am going to give you my system in a step by step with photos.

#1 I organize my photos - I will pull out two or three packets of photos (depending on numbers) and sort them. I group them together in "pages" meaning one or two page layout groups. A one page layout might take two to four photos where a two page layout might accommodate six to ten depending how much cropping I might do. Each of these groups get bundled with a sticky note to keep them organized and so I can tell about how many pages worth in a quick glance.


#2 I pick my papers - I like paper don't you? I usually pick two sheets of patterned paper to go with each one or two page layout. I find cardstock to match and put that with the photos and patterned paper. If I have a large group of photos from a single outing I might pick several sheets of patterned paper and coordinating cardstock and group them all together.


#3 I bag them - With the papers and photo together I put the group in a bag to keep them together. If the paper has coordinating embellishments I add those to the bag or a few items I know I want to include. Anyone who knows me knows I do not leave home without fibers and buttons these days.


#4 Get it together - So I go through each photo group just like that and make a mini kit for each group of photos. I might have two or three groups that can be bagged together but the idea is to make sure I have just enough, without the kitchen sink, and to break them down into smaller groups so they are just ready to go! All these bags go into a protective folder or a 12x12 box would work great.


#5 I'm all packed - When I leave for an all day crop I TRY to narrow it down to two bags, my large tote and my large tool bag. In the large tote I have two or more protective folders full of page kits ready to go, I have a small group of neutral cardstock, folder of letter stickers for titles, and extra adhesive. Can you ever have too many glue dots or tape runners? In my tool bag I have my cutter, my monster tape runner, ruler, a couple punches, pens, distress tools, and yes more do-dads like more buttons!

This can all be scaled back further for a smaller crop or one that you are traveling to by air. I took two small totes to a two day crop in Vegas and had everything I needed by doing some serious planning. My only mistake was putting my Crop-A-Dile in my carry on on the way there. The security crew scratched there head over that one after we dug it out of the bottom of the overstuffed bag :-)

Hope this gives you some ideas and helps you prepare for some serious scrapping at your next crop!

Happy scrapping all!

Wednesday, January 26, 2011

Before and After

That Scrappy Girl has been focusing this month on organization so I decided now that I am finished with my holiday pages I need to get organized so when I break out the supplies next holiday season I don't have to spend half of the time reorganizing what I have already started. So I went from this...
To this...
What a great feeling! I took one evening to organized, write myself notes and put my finished pages in the albums. Even though the holiday season (spirit) has past, I know next time it comes around I will be ready for it.

Next project: My scrapbook room!

Tuesday, January 25, 2011

Cardstock Card


GASP! A card without patterned paper? I will admit this doesn't happen for me very often. For this card I used two different colors of Bazzill paper, using a border punch on the black cardstock. I also punched circles from the cardstock and then created an embellishment by placing a Jillibean Soup Christmas Chesnut Soup sticker over them. I adhered this to the card with pop dots for added dimension. I also used a couple sticker strips from the same sheet of Jillibean Soup stickers. Those super cute pins (Sugar Picks) are also from Jillibean Bean Soup. And here's a tip...stick the pins thru the pop dots! Then you don't have to try to adhere or stick them thru the cardstock. That Scrappy Girl has them available in two different colors. I would imagine they will go fast!

Monday, January 24, 2011

Mojo Monday - #4

Happy Monday!  I'm getting a late start this morning.  I was at the UCA cheerleading competition at Mall of the America over the weekend.  And if MOA wasn't busy enough over a weekend add 90 teams of screaming girls ages 5-17.  We had a great time though and my daughter's team came took 1st  place.  Go TNT!

Mojo Monday's for January have been focused on organizing your scraproom and supplies.  I know for me I am hindered creatively if my space is a mess...Oh, who am I kidding, I don't scrapbook at all if I can't see my desk so here are some more tips on keeping your space tidy and the creative juices flowing:

1.  Organize supplies how you create. If you scrapbook by collections, papers, embellishments all by the same company, then organize those supplies the same way.  Pocket Folders or small bins are great for this.
I personally scrapbook by matching my photograph and build from there, so I color coordinate.


2.  Keep inspiration close at hand.  I love to keep my Newest or Favorite items within eye sight.  This way I stay motivated and inspired.  I love the Clip it Up for this.  Talk about keeping embellishments and sorts organize, it's just doesn't get any easier than this.

3.  My third and last tip actually comes from the FlyLady herself.  If you haven't heard about her, you must check her out.  She is dedicated to taking the CHAOS out of our lives and living by routines.  All of her principles can be applied to any room of your house.  So as FlyLady says: Set A Timer. That's right.  Every task can seem daunting and overwhelming, but it you break it up in manageable segments, nothing is too big to tackle.  So this week's challenge is to get a timer.  Set it for 15 minutes and GO!  You will be amazed at what you can do!.

Hope you had fun organizing with us this month.  Check back on Thursday as DT member Michelle Houghton will share a post on how to organize for a crop!  I can't wait for this one!

{{Hugs}}
Mimi

Friday, January 21, 2011

Paper Flower tutorial

Hi everyone Kristie here,, I made a flower tutorial , I hope you guys like it.
It is simple, and easy with only a few steps and you end up with two really gorgeous flowers to use on your projects. There are just a couple of things I should say first.. I have made many of these and a strong double sided paper or a cardstock works best.they hold their shape longer and and have much more dimention.Use a strong fast drying paper glue(so you arent stuck there holding your peices together forEVER!)I like Ivy scraps scrap fusion but you could use any fast drying paper glue.
there are a few techniques to make the flowers 3 dimentional
one is "cupping" where you take a blunt object(I use the end of a paintbrush) you place the paintbrush handle down at a 45 degree angle and press till the object cups upward.
two is "shaping" (I use a sharpie) where you rub the petals back and forth to shape the petals
three is "stirring" where you place the sharpie in the center of the flower and stir in a circular motion to make the flower curl upward.
four is "pinching" self explanatory I think ,, just pinch the edges together
okay heres what you need to get started:
-double sided paper or cardstock
-paper punches (i used a large daisy punch,a small daisy punch,a medium snowflake punch and a small sun punch)
-fast drying glue
-scissors
-sharpie marker or other blunt large ended item(for shaping petals)
-paitbrush end or other small blunt ended item(for cupping sun)
-glitter glue/glitter/paint
scoring matt or old mouse pad(a folded towel will work too!)
here is what we are making............

here are the punches I used

FOR FLOWER #1,five large daisy,one small daisy, one medium snowflake

SPRITZ with water or glimmer mist

"STIR" each petal until they curl

SHAPE each petal by rubbing lenghtwise

PINCH each petal making a "v" shape

TRIM each snowflake arm to make a stamen

SNIP multiple times each set of "leaves"( this will be two of the five large daisy punches that you flip over to a darker side of the paper)

STACK EM UP BABY!! gluing as you go and alternating the position of each daisy punch

WALLL LAHHHH!!
ALL DONE, ISNT SHE JUST GORGEOUS!!!!
okay now you can call that done , or you can add glitter glue/glitter/paint/ink/ markers etc... to make it more realistic.dont worry if it isnt perfect, because sometimes to imperfection makes them more beautiful.
NOW FLOR FLOWER #2..
you just punch four large daisys, and two small suns.
"STIR" the daisys, "CUP" the suns,
"SNIP" multiple times on each petal
STACK em up,, and add glitter.................
TA DAAA
darling, you look MAHHH VALOUS!!
FLOWER #1

flower #2

Now I bid you all farewell,,,,,, go forth and make some awesome blooms!

Thursday, January 20, 2011

Video Postponed!

Hi Friends,

I regret to tell you that I must postpone the video on how to make your own stamp storage solution.  I have been sick all week and today I have a frog in my throat. Check back tomorrow as Kristie will be posting a How To on making paper flowers.  Can't wait to see.

{{hugs}} Mimi

Tuesday, January 18, 2011

Studio Calico Cards

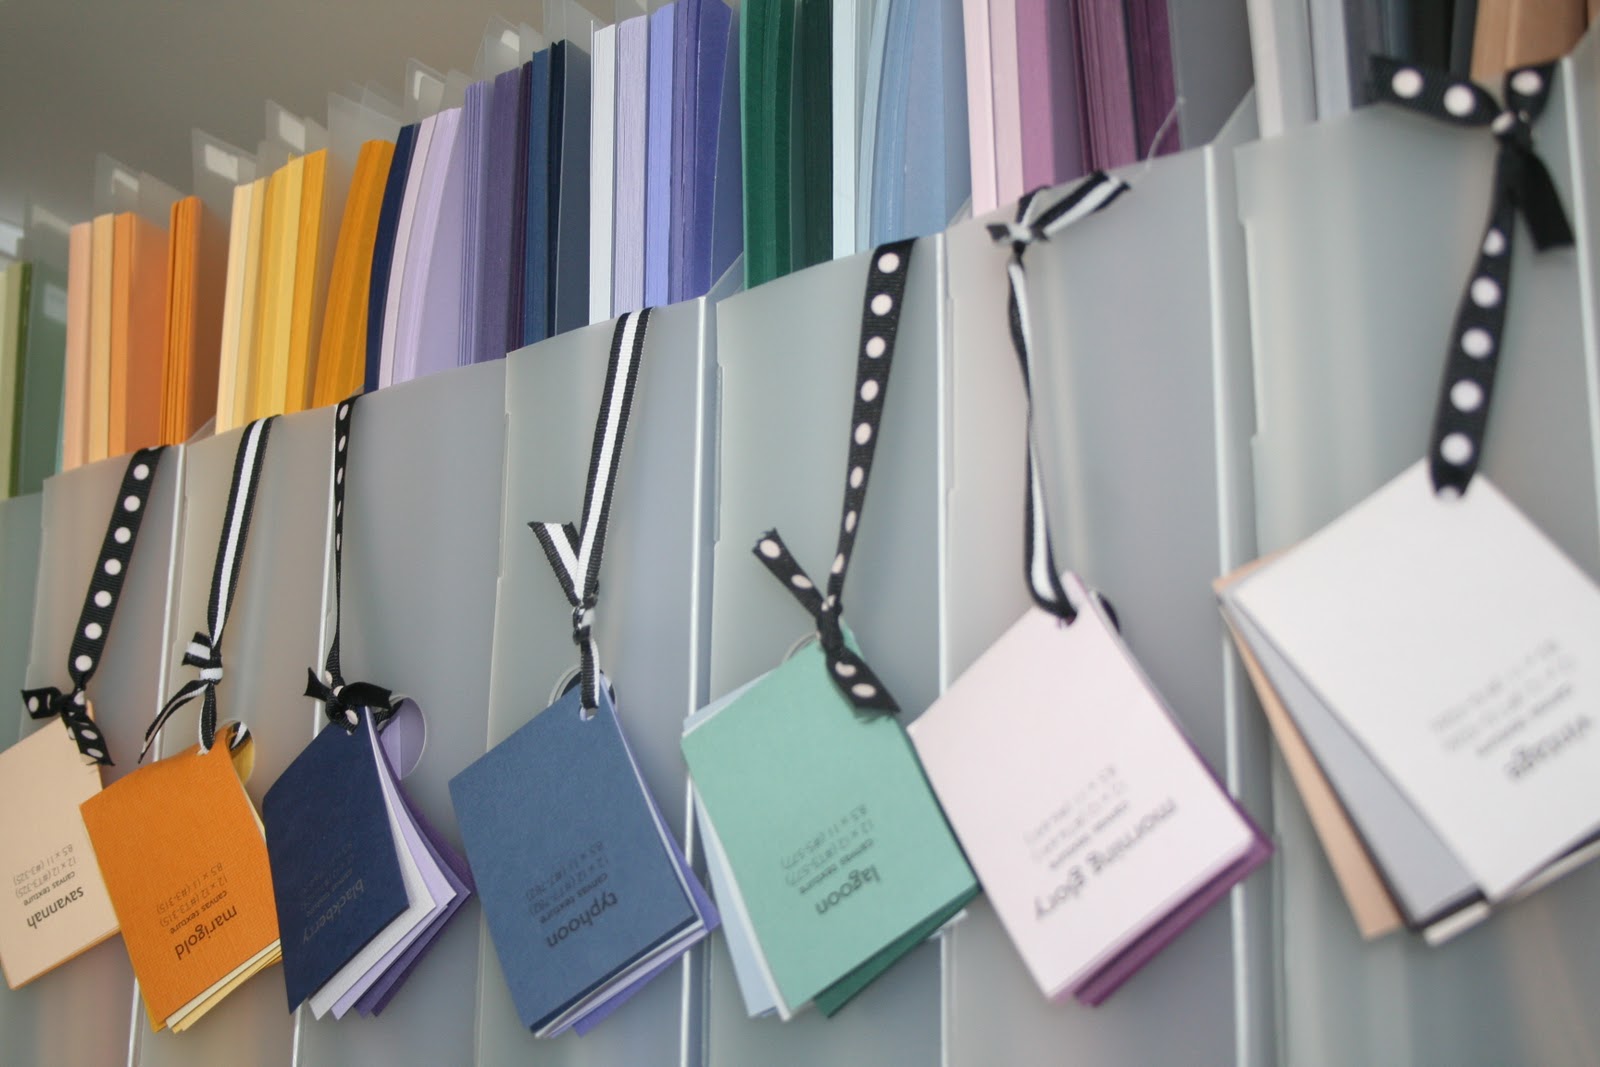
I loved the muted colors in this kit from Studio Calico. Although it is called Elementary, it is not only for school layouts and cards - but any occasion . This paper kit and alphabet stickers were so popular That Scrappy Girl is already out of stock, but if you would still like to order please email memories@thatscrappygirl.com for more information.


Monday, January 17, 2011

Mojo Monday - #3

Happy Monday!  I got an email from a blog reader suggesting a Mojo Monday topic of organizing clear acrylic stamps.  Thanks Becki for the suggestion.  I am going to break up this request into a few parts.  Today I am going to start by showing some products in the market exclusively designed to store stamps.  Then later in the week, I am going to upload a video on how to make your own storage system with some supplies you can find at the office supply store.

First up is the Cropper HopperCraft Binder.  The inside pockets are ideal for acrylic blocks and oversized flat embellishments. Hold unmounted stamp books (CH92578) and sticker pockets (CH92576). Measures 15.25"Hx14"Wx2.75"D. The Binder retails for $19.99 and the empty books retail for $9.99 for 3.


They also make stamp books for unmounted stamps which fit inside the craft binder:


Next up is the Inkadinkado Stamp Storage Binder.  Inkadinkado Stamp Storage Binder

This adaptable binder system is for storing clear stamp sets and supplies. Includes five clear pocket sheets plus storage tray area in the back perfect for blocks and more. Retails for $19.99


If you don't have shelf or storage space, the Stampendous Thin Stuftainers would be a good solution.  These clear reusable top-opening boxes fit standard vertical magazine holders. The "Thin" size is great for keeping clear stamps clean and organized. The "Thick" size is perfect for clear stamp blocks, ink pads and stamping supplies. The "Thicker" size is ideal for wood stamps, glitter tubes and more. These retail for $2.49-$3.49
 
3 Available sizes:
"8.5 x 11 x .44"
"8.5 x 11 x .63"
"8.5 x 11 x 1"


The last storage system I have to show is Tim Holtz Idea-Ology Stamp Binder.  Durable faux leather construction 3-ring binder features 3 refill pockets, inside pouch ideal for acrylic blocks, zipper closure and a coordinating identification tag. Great for storing unmounted stamps but can also be used for masks, stencils, stickers, rub-ons and more. Use TH92473 refills. The Binder retails for $29.99 and the binder refill pages retail for $2.99 for 5.


I hope this sparks some ideas for storing some stamps.  To find these products click on the Stamping section of the website.  I will have all of these on sale this week. 
Check back later this week for a new video of DIY stamp storage solutions. 

{{Hugs}} Mimi 


Friday, January 14, 2011

Mojo Monday Challenge Winner!

Happy Friday Everyone!  How is the organizing coming?  I have managed to make a little progress this week.  My desk space is becoming more and more visible each day.  I just have 1 itsy bitsy corner with a pile left on it.  That will get done today! Pinky Promise! Okay, maybe Saturday!

I did also manage to find some other tools to help with my organization.  I love all of the ideas from other craft companies and magazines...101 ways to organize...using cute little muffin tins, ice cube trays, etc.  But let's face it ladies.  I am a "You make it, I will buy it" type of gal.  {{I really should invest in Cropper Hopper...are they on the stock exchage?  Anyone?}} So, this week my finds came from IRIS.  I purchased the Card Keeper and the Photo Storage Case...So Amazing, Easy and Inexpensive!


{{Winner Time}} - Mojo Monday Challenge Winner is Jamie from Ankeny, IA.  Please send me your email address for your prize...
WAIT, What did she win, you say! 
A Cropper Hopper Scrapbook Organizer
Store and organize supplies such as foam stamps, ink pads, stencils, die-cuts, pens and chalk. Book style design offers vertical, space saving storage. Expandable pockets and flexible band closure secure supplies for safe transport. Here's a pic:


Have a great Weekend Everyone!  Keep organinzing and keep commenting!  Mojo Monday will be back with some awesome inspiration from a blogger reader's challenge with Acrylic stamps.

{{HUGS}} Mimi

Wednesday, January 12, 2011

S-P-I-R-I-T - Do you got it?

No promises, but I think that this might be my last Christmas layout for now. I was really hoping to get caught up on my Christmas book...but my holiday spirit is about gone. We will see if it can last a little bit longer to get through the last few layouts I need to do to be caught up.


I do have to say, having this adorable paper line by Chestnut Soup by Jillibean Soup has helped keep me in the spirit to scrapbook the holidays.

I enjoyed doing this layout, primarily because of the story, not so much about the photos. I actually took the time to journal (by the way I don't like to journal) on this layout because the story is so important to the layout. I don't think you can read the journaling that well so here is what it says:

"This years Christmas was extra special as these are the three new members of our family and they are all within six months of each other. Tate is the oldest, Owen is our little guys and in the middle, and Cole is Mart and Trish's. Ever since Owen was born I have had him in hats. Well, Christmas was no exception to the rule. He had the perfect page hat to match his velvet suspender pants. We wanted to get a photo of all three boys and this is what we got. A storyline of how Tat saw and claimed Owen's hat with Cole's disapproval. It was too funny to watch this play by play."

I hope that your holidays have been filled with as much love, fun, and laughter as mine have been. Once again I have to say that I am truly blessed.

Monday, January 10, 2011

Mojo Monday - #2

So my girlfriend texted me last night and said she didn't have any visible desk space in her scraproom.  I couldn't help but {Crack Up}.  This of course leads me to my Mojo Monday challenge.

In keeping with our January Organization month, answer this question?  What's on your desk? (or scrap surface)  Does your room look like this:

or this

Well, thank heaven's my room doesn't look like the 2nd image, but in heaven, the first image WILL be my scraproom.  Here's what is currently on my desk:


3 cans of Diet Coke
1 bottle of Aquafina
2 Tag readers
Jessica Seinfeld's Deceptively Delicious cookbook
Adobe Photoshop Elements 9 box
Leftover christmas card photos
Completed mini album - from a class 3 years ago
Glue gun
Splat mat
Beacon's 3-n-1 Glue
Video Camera
Copic Marker Wallet
Notebook/Pen
Acrylic Block
Stamps (that I need to return to Jamie)
Empty Snack container

Geez! 

So Guess what this week's Mojo Challenge is? 

You guessed it:  {{CLEAR OFF YOUR SCRAP SPACE}} Load up some pictures of your scrap space by Friday and we will pick a winner.  Before and After would be great, but After's are fine too.  Head over to our Flickr group and become a member of the group and LOAD some pics.  Ready, Set, GO! 

{{Hugs}} Mimi

Friday, January 7, 2011

A New Year....Time to Get Craftin'!


For me 2010 was the year of the craft funk. Not sure what happened, but bleh! But 2011 will be different. I am going to challenge myself to get creating accomplished even if it's just in 10 minute increments. I also need to do a better job of showing of my projects on this blog and my personal blog. So here's my first post in the new year. A wee little card using the SUPER CUTE Echo Park "Everybody Loves Christmas."
My daughter who is 8 is very artsy and craftsy so while on Winter Break she begged me for a gingerbread house kit. Stupid me instead of buying the one large house, I bought 5 minis. Probably 5 hours later we were finally done..... I only helped with assembly and some of the white piping at the seams. Other than that she did the whole thing. She was pretty proud of herself to I wanted to share with the blog world.

Sunday, January 2, 2011

Happy New Year!

Happy New Year! I hope everyone is enjoying 2011 so far! I know that I am excited and pumped about the new year and all of the beautiful things it is going to bring. I have been working on my personal resolutions and thought that I had better start working on my scrapbooking goals as well. One of the goals I have set this year to catch up on my Christmas album and pages. I have a tendency to only want to scrapbook Christmas pages at Christmas time. This can be fun, however; most of the time it isn't because it puts me WAY behind!!

As I work towards my goal of finishing holiday projects and pages, I wanted to share with you my most recent two-page layout. I absolutely love the line Christmas Chestnut Soup by Jillibean Soup and had to do another layout with it. These are from the pictures I took of Owen decorating our Christmas tree. It was all about him and the way he wanted the tree to look. So I stopped being a control freak about it and let him have at it!

As I look back on 2010 I am reminded once again that I am truly blessed in many different ways. I look forward to working on and obtaining my resolutions this year. I cannot believe the life that God has give me. God is good!